Thursday, February 14, 2019

Gesundheit !

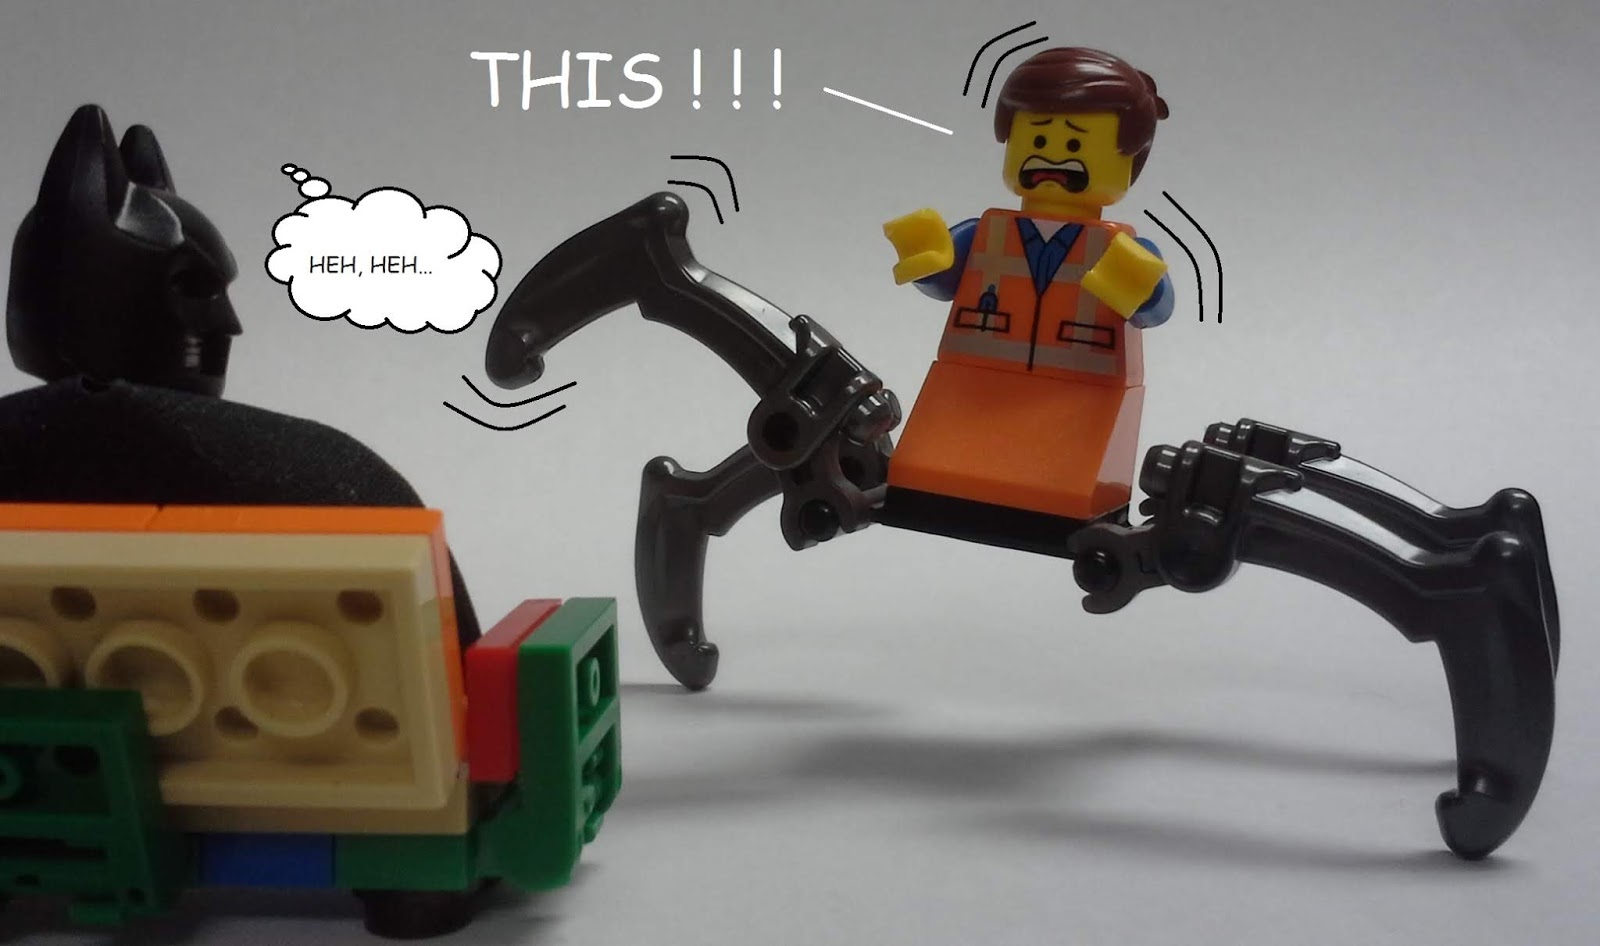
Today's Brick-built offering is a single frame affair based on an original watercolor cartoon I rendered back sometime in the 80s....


"GESUNDHEIT !!"


And now, a word from The Double Decker Couch....


“ Hi, Folks, Emmet here.   As you can see, SNEEZING can be very serious business!  Not only is it gross and messy, but it disrupts your whole life for a few seconds, making you momentarily forget everything you were thinking about.
In computer terms, a sneeze is very much like executing a RAM reset on your brain!”

“To lessen the effects of a sneeze you feel coming on, here is an important procedure to always remember to follow…”

"Stop...."


"Drop....."
 
"And roll !!"


"And don't forget to always wipe your chin!"


Now, here are some close up shots of the brick-built figures in the cartoon...

The 'smart-alek' guy making the comment while apparently oblivious to what happened right next to him....


And the remains of the unfortunate "sneezer"....

Wednesday, February 13, 2019

Tidy-Bot


 One afternoon on the LEGO building bench, we join Emmet as he enjoys a quick snack.....


And here are the two robots featured in this MOC-toon....

Monday, February 11, 2019

Chocolate Cake Dreams

Hi, Folks,
This little story features a bit of a nod to Monty Python's Meaning of Life.....


IDEAS NASA Apollo Saturn V, Part 5 - Bags 4, 5, and 6

Hi, All,

This weekend, I managed to get a bit more work completed on the Saturn V model, working through the 4th through 6th parts bags.
This series of parts completes the first stage booster.

Parts bag 4 mainly covers the building of the round conduits and their associated support structure.
One thing to be careful with here is that there are two different pairs of long assemblies that attach in specific places on the model.

I got all of the strips built and put into place before I realized I had them all 90 degrees apart on the model.  I didn't realize this until it came time to build the long conduit pieces and snap them in place.  When I reached the bottom sections of conduit, I found there was no attachment place, because I had put the support strips in the wrong position.  Ooops.
Of course, this required dismantling a substantial amount of work to put things right.

Pay attention to the illustrations, geek!!!!


Anyway, the goof was successfully corrected, and I could move on to parts bag #5, which has all the pieces to completed the 'corrugated' section of the main body tube. 

This section progressed very quickly, so it was on to parts bag #6, which completes the business end of the rocket. - the 5 mighty engine/nozzle assemblies.  
The last few parts in the bag round out the fins, shrouds, and final sections of the main body.

Here is a pic of the completed first stage:


Friday, February 8, 2019

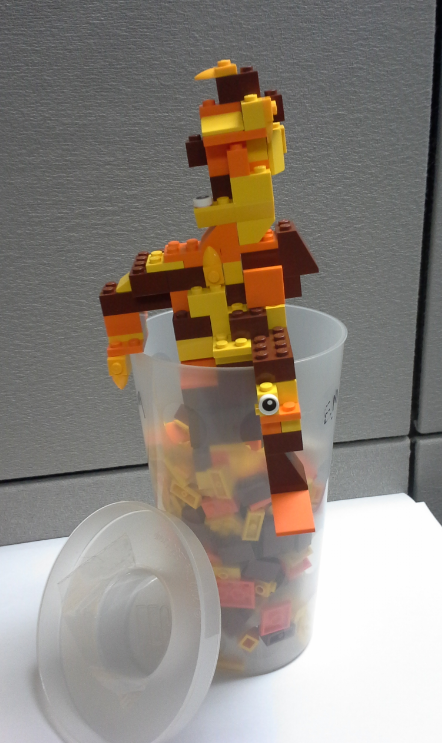
The Great Escape

Early in my LEGO building 'career', I paid a visit to the local LEGO store where I filled up a PAB cup with all kinds of new elements. 

That was back in the days when LEGO was doing the 'Pick-A-Model' program on the PAB wall. 

This particular trip netted a lot of orange and yellow parts that were stocked for the Giraffe PAMs,

When I got the cup home, I looked at it sitting there on my workbench.

I hit on an interesting idea.....

Presenting

THE GREAT ESCAPE !!


                                                      Late one night.....


Next Morning.... 
 
"HEY, What happened to all of those parts I bought Yesterday?
I really wanted to build a herd of those neato-keano giraffes !!


IDEAS NASA Apollo Saturn V, Part 4 - Parts Bag #3

Work is progressing very well on the Saturn V model, with the completion of parts bag 3 which covers more of the first stage booster section.

I encountered a bit more difficulty in assembling the bracing/ locking parts at the top of the assembly.
Once the four sections of outer 'skin' are built, they must be attached to some SNOT assemblies at the top of the section.

Then a pair of 4x8 half-round plates are applied to lock the various parts together.

The trouble is that each plate must be lined up with 5 different SNOT assemblies around the perimeter as well as attaching to the central 4x4 round brick. 

All of the perimeter SNOT assemblies move around and are prone to detaching and falling off of the model while one is attempting to attach the plates.


It takes a bit of finagling to get everything lined up and in place.  Once those plates are finally on, the whole affair is quite strong and sturdy.

Here's the model, completed to this point...